
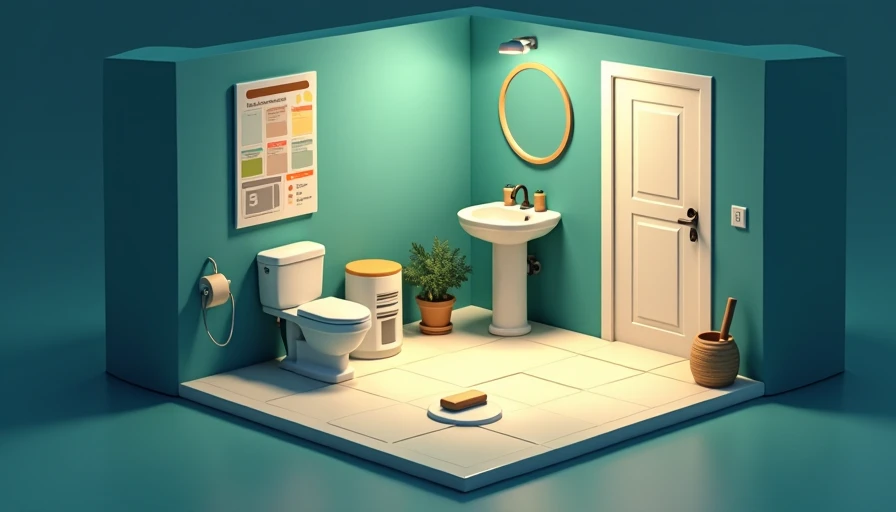
Budget Bathroom Renovations: Where to Spend and Where to Save
Budget bathroom renovations can look polished without draining your savings. Get real cost ranges, DIY guidance, material swaps, and a practical renovation...
Budget bathroom renovations are less about finding the cheapest toilet and more about controlling the work behind the walls. A bathroom can look simple, but plumbing, waterproofing, electrical work, ventilation, and finish materials add up quickly. In Greenville, South Carolina, I have seen modest bathrooms land anywhere from $6,000 to $18,000 depending on layout, labor, and how much demolition reveals. My own spreadsheet started with a $9,500 target and ended at $10,840 after a leaking valve and two extra sheets of cement board. That was still a reasonable result because I avoided moving plumbing and spent money where failure would be expensive.
The goal is a clean, durable room that does not advertise the budget. Measure twice, cut once, write it down.
Start with the bathroom budget before demolition
The first step in budget bathroom renovations is separating fixed costs from choices. A basic permit, dumpster or disposal run, plumber visit, and electrician can consume $1,500 to $3,500 before you buy a faucet. Keep at least 15 percent in reserve for surprises, especially in houses built before 1990.
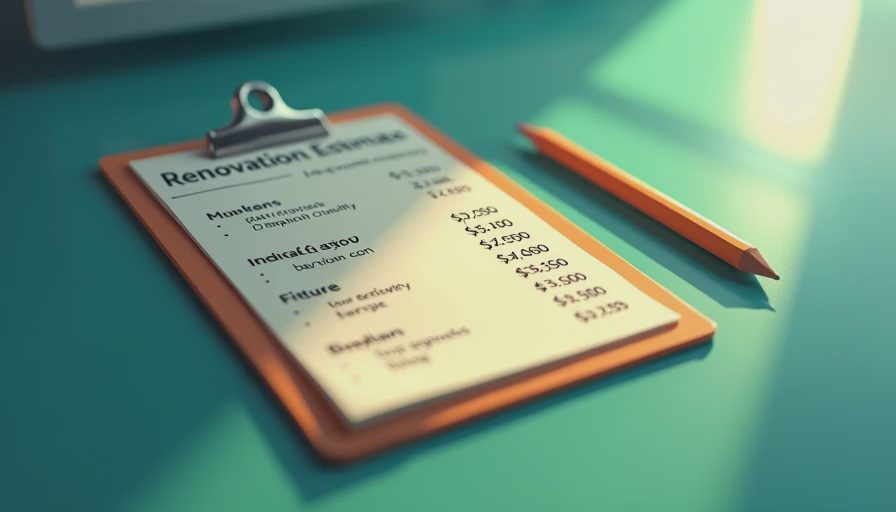
For a typical 40- to 60-square-foot bathroom, my rough planning numbers look like this: demolition and disposal, $500 to $1,500; plumbing adjustments, $800 to $2,500; electrical and lighting, $400 to $1,200; waterproofing, $600 to $1,500; flooring, $300 to $900; vanity and sink, $500 to $1,500; toilet, $200 to $700; and paint, trim, and hardware, $300 to $900. Labor can double the material total.
Do not begin by browsing tile. Begin by writing down the room dimensions, fixture locations, door swing, window position, and existing problems. Keeping the toilet, sink, and shower in their current locations is usually the single biggest savings decision. Moving a toilet only a few feet can require new drain work, floor repairs, and access through another room.
Spend money on waterproofing and ventilation
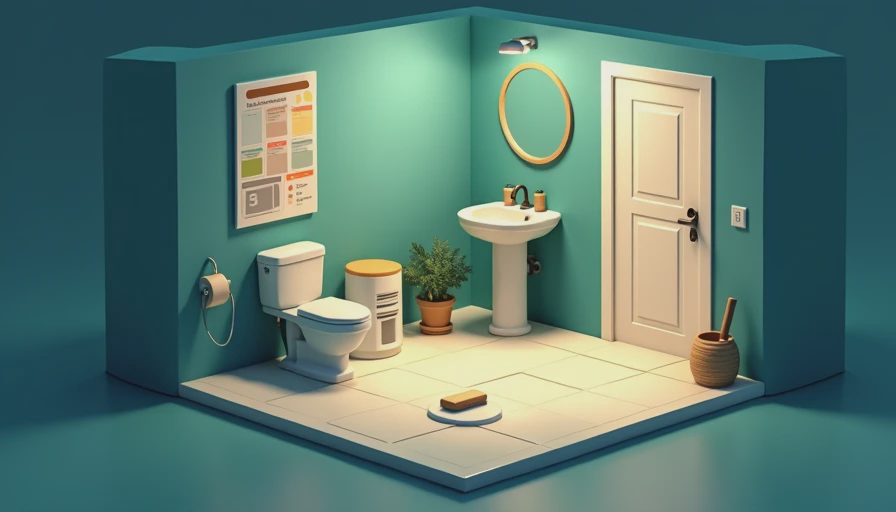
Some budget bathroom renovations fail because the visible finishes receive attention while the hidden systems get treated as optional. Waterproofing is not the place to improvise. Behind shower tile, use a complete system from one manufacturer, such as Schluter Kerdi or USG Durock, and follow its instructions. Mixing membranes, sealants, and drains from unrelated systems can create compatibility problems.
A properly prepared shower may cost $700 to $1,800 in materials and labor before tile. That sounds painful next to a $250 fiberglass surround, but repairing a failed shower can mean removing tile, drywall, insulation, and flooring. I once skipped a small sealant detail around a niche because it looked finished. Six months later, moisture had reached the framing. The repair cost more than the original waterproofing upgrade would have.
Ventilation deserves similar attention. A quiet bathroom fan that vents outdoors, not into the attic, helps control moisture and protects paint, trim, and framing. A Panasonic WhisperCeiling or Broan fan typically costs roughly $120 to $250, plus installation if the wiring or duct route needs work. Run the fan during showers and for about 20 minutes afterward.
Choose finishes that look expensive but install simply
The best budget bathroom renovations usually use fewer complicated materials. Standard-size porcelain tile is often a better value than tiny mosaic tile, oversized slabs, or elaborate patterned layouts. Large tile can reduce grout lines, but very large pieces may require flatter floors and specialized handling. For many homeowners, 12-by-24-inch tile is a practical middle ground.
Keep the tile field simple and use one detail for character. A $120 accent strip or a painted vanity can do more visually than $700 worth of mixed tile. White, warm gray, soft green, and muted blue remain forgiving choices because replacement pieces and coordinating paint are easy to find.
For flooring, porcelain tile is durable and water-resistant, while luxury vinyl plank can be faster to install in a half bath or powder room. I would not use standard laminate flooring near a tub or shower. In the vanity area, a stock cabinet from Home Depot, Lowe's, IKEA, or a local cabinet supplier can work well if the wall is straight and the plumbing lines up. Spend extra on a solid faucet cartridge and a countertop with a proper backsplash.
Know what to DIY and what to hire out
Budget bathroom renovations become more affordable when you do the work that rewards patience and hire out the work that can create safety or code problems. Homeowners can usually handle cabinet assembly, painting, trim, mirror installation, demolition, and sometimes tile installation. The catch is that tile requires careful layout, a flat substrate, clean cuts, and correct movement joints. A first-time installer can easily spend an extra weekend fixing avoidable mistakes.
Licensed trades are worth considering for new electrical circuits, panel work, drain changes, gas lines, and complicated plumbing. In many locations, permits or inspections apply. A plumber might charge $500 to $1,500 for a straightforward fixture change, while a full layout change can run several thousand dollars. Get the scope in writing: fixture locations, shutoff replacement, access panels, patching, testing, and who supplies each part.
I handle demolition carefully because it exposes problems cheaply. Shut off water, remove the toilet, protect the hallway, and use a small inspection opening before taking a sledgehammer to the wall. Dusty Springfield, my shop vacuum, has saved more cleanup time than any fancy demolition tool.
A practical sequence for the work
The order matters more than most people expect. Photograph every wall before closing it, including pipe routes and wire locations. Label shutoff valves and take measurements from permanent references, not from temporary drywall edges.
After demolition, correct framing and subfloor problems first. Then complete rough plumbing and electrical inspections, install the shower pan or waterproofing system, and flood-test the shower when the manufacturer allows it. Next come backer board, tile, grout, flooring, and paint. Install the vanity and toilet after the floor has cured. Finish with lighting, mirrors, towel bars, caulk, and door adjustments.
This sequence prevents the classic mistake of installing a new vanity before discovering that the floor slopes toward the wall. It also keeps expensive fixtures out of the room while dusty work continues. For a small bathroom, a realistic DIY schedule is two to four weekends; a contractor-led project may take one to three weeks depending on inspections and material availability.
Where budget bathroom renovations add value
As an ex-appraiser, I separate resale value from personal enjoyment. A clean layout, reliable plumbing, good lighting, fresh paint, functional ventilation, and a well-installed shower usually matter more than a designer faucet or imported tile. Neutral, durable choices make the room easier for a future buyer to accept, but they do not guarantee a dollar-for-dollar return.
If you have $10,000, I would rather see $2,000 spent on waterproofing and plumbing, $1,500 on lighting and ventilation, and $2,000 on quality installation than $5,000 spent on decorative finishes. In budget bathroom renovations, workmanship is often the upgrade nobody notices until it is missing.
My final spreadsheet should show original estimate, actual cost, and the reason for every difference. That record is useful for the next project and for explaining the work when you sell. Start with the layout, protect the hidden systems, choose standard materials, and keep cash reserved for surprises. The room does not need to be extravagant. It needs to be dry, safe, easy to clean, and finished without pretending the budget never existed.
Comments
No comments yet — be the first to share a thought.