
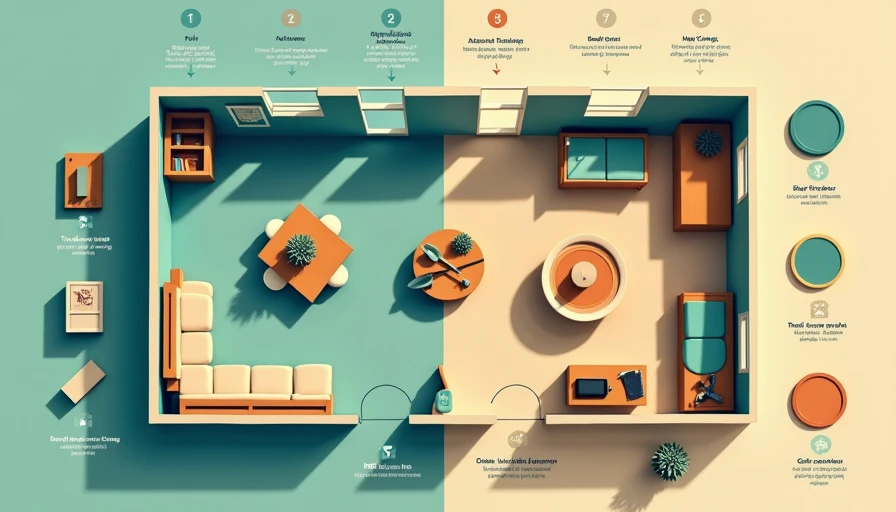
Before and After Home Renovation: What the Photos Do Not Show
Before and after home renovation: compare costs, spot value-adding upgrades, avoid common mistakes, and plan a practical remodel with a clear budget for...
A good before and after home renovation photo makes demolition look like the hard part. It is not. The hard part is deciding where the money goes, discovering what is behind the drywall, and staying calm when a $400 repair becomes a $2,000 repair. I have renovated four houses in the Upstate, and the finished photo is always cleaner than the spreadsheet behind it.
In this guide, I will show you how I document a renovation, separate useful improvements from expensive decoration, and build a budget that survives contact with an old house. My rule is simple: measure twice, cut once, write it down.
Start with a useful “before” record
Before touching a room, I photograph every wall, ceiling, floor, outlet, switch, vent, window, and plumbing connection. I also take a wide shot from each corner. Those pictures are not just for social media. They help locate buried wiring, prove the original condition, and remind me where trim, blocking, or a cabinet used to sit.
For a kitchen, I measure cabinet runs, appliance openings, ceiling height, door swings, and the distance between the sink and the range. For a bathroom, I record the plumbing locations and inspect the subfloor around the toilet. A ten-minute measuring session can prevent a $600 cabinet modification or a wasted countertop template.
I also write down what is wrong before writing down what I want. On our Greenville house, the dining room had ugly paneling, but the bigger issue was a soft spot near the exterior wall. The paneling was cosmetic. The floor damage was the budget item that mattered.
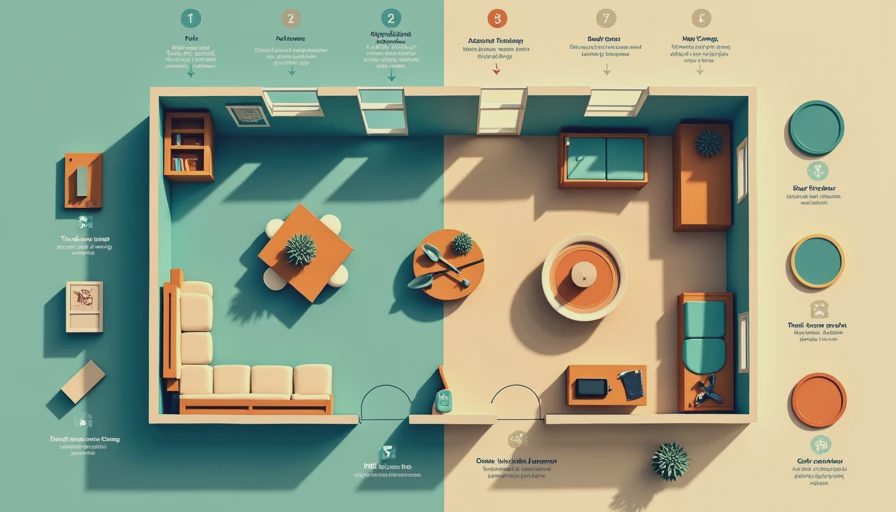
A useful before and after home renovation comparison includes more than paint color. It should show the original condition, the work completed, and the reason for each major change. If you cannot explain why an upgrade was needed, useful, or valuable, it probably belongs lower on the priority list.
Build the budget from the walls outward
My first budget is never a single number. I divide it into demolition, structure, mechanical work, finishes, labor, permits, delivery, and contingency. A modest 150-square-foot bathroom might begin around $8,000 to $12,000 with standard materials and limited layout changes. Move plumbing, repair framing, upgrade electrical work, and choose custom tile, and the same room can pass $20,000 quickly.
For our kitchen, I tracked cabinets, hardware, sink, faucet, lighting, flooring, drywall repairs, paint, appliance installation, and disposal fees separately. The original estimate was $24,500. The actual total landed near $29,000 after subfloor repairs and a panel upgrade. That $4,500 difference was not one dramatic mistake. It was several ordinary surprises that were never included in the first version.
Set aside at least 10 percent for a straightforward project and closer to 20 percent for an older house with unknown plumbing, wiring, or framing. Keep that reserve in a separate account. If the money is visible in the checking account, it has a way of becoming a nicer faucet.
Decide what adds value
My appraisal background makes me cautious about expensive finishes. A renovated kitchen with sensible storage, durable counters, good lighting, and a functional layout usually helps a house more than a highly customized backsplash. Buyers notice condition and usability first. They do not always pay extra for the designer item you spent three weekends researching.
That does not mean every choice should be beige. It means the expensive choices should earn their place. A $1,200 electrical correction, a $2,500 drainage repair, or a $3,000 HVAC replacement can protect the house. A $3,000 statement light can improve the room, but it will not fix a bad floor plan.
For resale, I prefer midrange materials that are easy to replace: common cabinet dimensions, readily available faucets, standard light fixtures, and flooring that can be repaired without removing half the room. In a forever home, spend more where your family touches the house every day. We paid for better drawer hardware and a quieter dishwasher, but skipped the custom range hood.
The mistake behind our best-looking room
The most satisfying before and after home renovation in our house was the upstairs hallway bathroom. The final room has white oak shelves, simple white tile, a wider vanity, and much better lighting. The mistake came before any of that: I ordered the vanity before confirming the rough plumbing location.
The drain was two inches off. That sounds minor until a drawer hits the trap and the supply lines need to move. I spent a Saturday opening the wall, paid a plumber to make the connection correctly, then patched drywall twice because my first repair telegraphed through the paint. The extra cost was about $700, plus a lost weekend.
The fix for this kind of mistake is not more confidence. It is a written sequence. Confirm dimensions, verify framing, inspect utilities, order materials, then schedule installation. I now tape a paper outline of every large fixture on the floor before ordering it. If the door, toilet, vanity, and person cannot occupy the room at the same time, the plan is wrong.

What to DIY and what to hire out
I handle demolition, painting, trim, cabinet assembly, shelving, and some flooring. I hire licensed trades for work that can create a safety problem or fail an inspection, including major electrical changes, gas lines, structural alterations, and complicated plumbing. I also hire out drywall finishing when the room needs to look perfect under bright light. I can make drywall flat; I cannot make it look invisible in a sunbeam.
The best way to save money is not doing every task yourself. It is preparing the job so a professional spends time on the technical work rather than cleanup, shopping, or correcting your layout. Remove cabinets carefully, label wires without disconnecting anything unsafe, clear the driveway, and have materials on site when the installer arrives.
Get at least three written bids for larger work. Ask what is included, who buys materials, how change orders are priced, and what happens if the schedule slips. A low bid that excludes disposal, permits, or surface preparation is not low once the real scope appears.
How to photograph the finished result honestly
A strong final photo is taken from the same position as the original, at roughly the same height and in similar lighting. Clean the room, but do not hide a necessary access panel or photograph only one flattering corner. I take detail shots of caulk lines, trim joints, cabinet reveals, flooring transitions, and the inside of storage. Those are the places where workmanship shows.
I also keep a final ledger. It includes the original budget, actual spending, labor hours, materials left over, and unresolved items. My before and after home renovation posts are more useful when the reader can see that the room cost $11,800 instead of simply hearing that it was “budget-friendly.”
A practical checklist before demolition
Walk the room with a tape measure, camera, flashlight, and notebook. Photograph every surface and connection. Test outlets and shutoff valves without forcing anything. Look for stains, cracks, soft flooring, pests, and signs of previous leaks. Confirm whether permits or inspections apply to the planned work.
Then make three columns: must fix, should improve, and would be nice. The must-fix column contains safety, water, structure, and code-related work. The second column contains layout and durability improvements. The final column contains decorative upgrades that can wait. Price all three columns, but fund them in that order.
That process keeps a renovation from becoming a shopping trip with power tools. When the project runs long, you still know what matters. When the budget tightens, you can postpone the bronze mirror without postponing the rotten subfloor.
The best before and after home renovation result is not the one with the most expensive materials. It is the room that works better, has fewer hidden problems, and can be explained line by line. Take the photos, keep the receipts, and leave room for the surprise behind the wall. Measure twice, cut once, write it down.
Comments
No comments yet — be the first to share a thought.