

Home Renovation Checklist: Plan the Work Before You Swing a Hammer
Use this home renovation checklist to plan rooms, permits, budgets, contractors, materials, and punch-list work without losing track of cost or schedule.
A home renovation checklist is less glamorous than a wall of sample paint cards, but it is what keeps a $25,000 project from becoming a $40,000 surprise. I learned that during the first house I renovated in Greenville, South Carolina, when I started demolition before confirming where the replacement flooring would meet the kitchen cabinets. The fix cost three weekends and about $1,100 in materials.
I now treat every renovation like a small construction project, even when the job is only one bathroom. The goal is not to remove every surprise. Old houses will always find new ways to surprise you. The goal is to find the expensive surprises while you still have options. Measure twice, cut once, write it down.
Start with scope, budget, and priorities
The first part of your home renovation checklist should describe what you are changing and what you are leaving alone. Write the room name, the reason for renovating, and the finished result you expect. “Make the kitchen nicer” is not a scope. “Replace laminate counters, repaint cabinets, add lighting, and keep the existing layout” is a scope.
Separate needs from upgrades. A leaking supply line, unsafe wiring, damaged subfloor, or failed HVAC component belongs in the needs column. A pot filler, heated floor, or second dishwasher belongs in the upgrade column. Both can be worthwhile, but they should not compete for the same emergency money.
For a modest bathroom refresh, I would sketch a starting budget of $4,000 to $8,000 for materials and hired labor. A gut bathroom can run $12,000 to $25,000 or more. Add a contingency of 10% for a straightforward project and closer to 20% for an older home. My spreadsheet has separate columns for estimate, actual cost, tax, delivery, and the person who bought the item. That last column prevents the classic “I thought you ordered it” problem.
Check the house before demolition
Before the first pry-bar swing, photograph every wall, ceiling, floor, outlet, pipe, and appliance connection. Open the electrical panel and record which breaker serves the room. If you are removing cabinets or drywall, locate water lines, drain lines, ductwork, and wiring first. A $35 stud finder is cheaper than a plumber’s emergency visit.
Your home renovation checklist should also include age-related risks. In a pre-1978 house, ask about lead paint before sanding or disturbing painted surfaces. Older flooring, pipe insulation, and some ceiling materials can contain asbestos. Do not guess based on appearance. Testing and proper abatement are worth the cost because a dusty renovation can affect the entire house.
Look for moisture before covering anything. A soft baseboard, stained ceiling, swollen trim, or musty cabinet may be a symptom rather than the problem. I once blamed a warped vanity on poor installation. The actual issue was a slow leak at the shutoff valve. The vanity was salvageable; the particleboard floor below it was not.

Handle permits, plans, and people
Permit requirements vary by location and by the work involved, so call your city or county building department before starting structural, electrical, plumbing, or major mechanical work. In Greenville County and nearby municipalities, the office or jurisdiction can determine what applications and inspections apply. Do not assume a project is exempt because a neighbor skipped the permit.
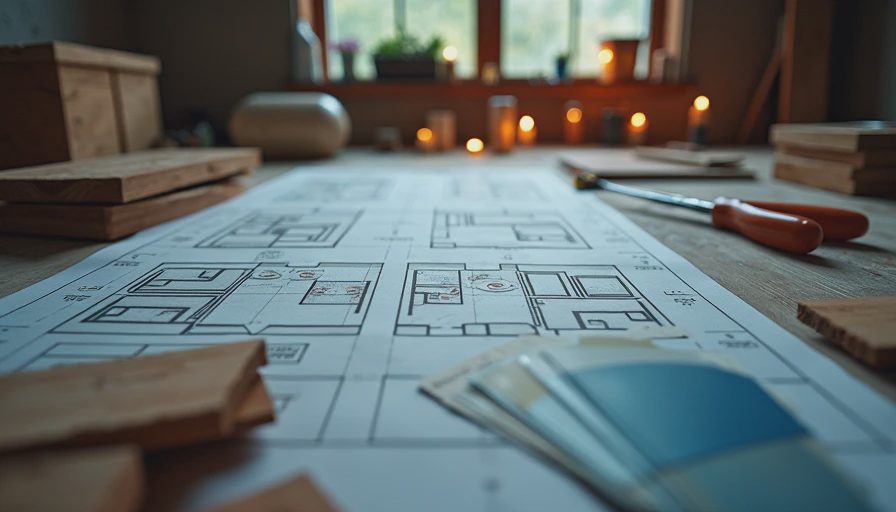
Draw a simple plan with measurements, door swings, window locations, outlets, plumbing fixtures, and lighting. It does not need to look like an architect’s set. It needs to be clear enough that you and a contractor are discussing the same room. If walls move, ask a qualified professional about structural requirements before ordering materials.
When hiring help, get written scopes from at least two or three contractors. The quote should identify demolition, disposal, prep work, materials, labor, permits, change orders, payment schedule, and completion expectations. A $9,000 bid that excludes drywall repair and haul-away is not cheaper than a $10,500 bid that includes them. Ask who will be on site, who pulls permits, and what happens if concealed damage appears.
Order materials in the right sequence
Many renovation delays are purchasing mistakes wearing a work-clothes disguise. Confirm measurements before ordering cabinets, tile, countertops, doors, and specialty fixtures. Check lead times, return policies, color lots, and whether the material can be carried through your home without damaging a wall.
The home renovation checklist should have a delivery calendar. Order long-lead items first, but do not schedule installation until the product is physically inspected. I once received a vanity with a cracked top and discovered it on installation morning. The replacement took nearly three weeks, leaving the bathroom torn apart and the family using the hall bath.
Buy 10% extra tile for a simple layout and more for diagonal patterns, complex cuts, or discontinued products. Keep spare paint, flooring pieces, grout, caulk, and matching hardware after the project. Label the box with the room and date. Future you will not remember whether the kitchen backsplash was “warm white” or “white with a name that sounded like a sandwich.”
Protect the house and control the schedule
Set up a clean path from the exterior door to the work area. Use floor protection, plastic dust barriers, zipper doors, and a separate bin for debris. Turn off water and power before opening walls, and keep a fire extinguisher where work is happening. If you have children or pets, lock up sharp tools, chemicals, fasteners, and demolition debris every evening.
Build the schedule around dependencies. Demolition comes before rough plumbing and electrical. Inspections come before insulation and drywall. Drywall finishing comes before paint, and cabinets or vanities usually need to be installed before countertops are templated. The home renovation checklist should show these handoffs because one late inspection can move every following task.
Plan for daily cleanup rather than a heroic Saturday cleanup. Fifteen minutes with Dusty Springfield, my shop vac, is enough to keep a manageable job from becoming a layer of grit over the entire house. Take progress photos before closing walls. Photograph pipe routes and wire locations with a tape measure visible in the frame.
Finish with a real punch list
A room is not finished when the contractor leaves or the last cabinet door is hung. Walk through during daylight and again after dark with the lights on. Check doors for rubbing, drawers for alignment, outlets for power, faucets for leaks, drains for proper flow, trim for gaps, and paint for flashing or missed patches.
Use painter’s tape to mark each issue and number the tape. Put the same numbers in your home renovation checklist, along with the responsible person and target date. This is clearer than sending a text that says, “There are still a few things to fix.” Keep final payment tied to completion of agreed work, while following the written contract and local rules.
Save permits, inspection records, invoices, warranties, paint formulas, appliance manuals, and before-and-after photos in one digital folder. Update your household budget with actual costs, not the original guesses. As an appraiser, I care about durable work, sound systems, and improvements that fit the neighborhood more than flashy upgrades that look impressive in a listing photo.
The best home renovation checklist is not the prettiest one. It is the one you actually use before demolition, during the messy middle, and at the final walkthrough. Print it, keep it in the room, and write down every decision while it is fresh. Your future self will have enough problems without trying to remember which valve controls the upstairs bathroom.
Comments
No comments yet — be the first to share a thought.