

How Do I Lay Hardwood Flooring? A Homeowner's Step-by-Step Guide
Learn how do i lay hardwood flooring from a renovation diary: budget, tools, subfloor prep, layout, nailing mistakes, and when a pro earns the fee.
If you are asking, "how do i lay hardwood flooring," the honest answer is that the boards are the easy part. The hard part is preparing the room, controlling moisture, starting the first row straight, and avoiding a mistake that repeats across 400 square feet. I learned that on our Greenville, South Carolina, hallway project, where one lazy measurement created a narrow sliver at the far wall. It looked terrible, and fixing it cost me an entire Saturday.
For a typical 400-square-foot room, I would budget $2,400 to $5,000 for solid or engineered hardwood installed by a professional. A careful DIY installation can reduce labor by roughly $1,200 to $2,000, but tools, underlayment, waste, trim, and floor preparation still count. Measure twice, cut once, write it down.
How do i lay hardwood flooring without wasting money?
Start with the material, because installation method depends on the product. Solid hardwood usually gets nailed to a wood subfloor. Engineered hardwood can be nailed, stapled, glued, or installed as a floating floor, depending on the manufacturer's instructions. Do not assume a method is acceptable because a video used it. The warranty and locking profile matter.
I normally add 8% to 10% for waste. A simple rectangular room with several doorways may need less, while a room with angled walls, closets, or a fireplace can use 15%. At current retail prices, decent engineered oak often runs $4 to $9 per square foot, while solid oak commonly falls around $5 to $10. Add $150 to $350 for a flooring nailer rental, $50 to $100 for a miter saw if you do not own one, and another $100 to $250 for quarter-round, transitions, and fasteners.
The useful tools are a tape measure, chalk line, tapping block, pull bar, spacers, moisture meter, pneumatic flooring nailer, compressor, miter saw, jigsaw, and a shop vacuum. My shop vacuum is named Dusty Springfield, and it earns its keep every renovation.

Prepare the subfloor before the first board
Remove the old flooring and inspect the subfloor in daylight. Replace water-damaged plywood, screw down squeaky areas, and scrape away adhesive ridges. The surface needs to be clean, dry, and flat enough for the flooring manufacturer's tolerance. A small hump can create a hollow sound; a dip can make boards flex and separate.
Use a long level or straightedge across the room. Mark high spots with a pencil and low spots with painter's tape. Sand small ridges, then use an approved patching compound for shallow depressions. Do not cover a serious structural problem with flooring. If the subfloor moves when you walk on it, address the framing or plywood first.
Let the hardwood acclimate according to the manufacturer's instructions. That often means bringing unopened boxes into the conditioned room for several days, but the required time depends on the product and humidity. Keep the boxes flat and off concrete. In the Southeast, where summer humidity can be aggressive, a cheap hygrometer is better than guessing. The room should be at normal living conditions before installation begins.
Plan the layout and first row
Measure the room's width and divide it by the visible board width. You want the first and last rows to look intentional, not one full board on one side and a two-inch strip on the other. If the final row would be too narrow, trim the first row so both sides have a more balanced width. This is one of the places where the answer to how do i lay hardwood flooring is more math than hammering.
Most installers run boards parallel to the longest wall or toward the strongest natural light. That is not a structural rule, but it usually makes a room feel less chopped up. Snap a reference line rather than trusting the wall; older houses rarely have perfectly straight walls. Leave the required expansion gap around walls, cabinets, pipes, and door jambs. Flooring needs room to expand, and baseboard or shoe molding will cover the gap.
Stagger end joints according to the product instructions. Avoid creating a repeating staircase pattern, and do not put neighboring joints too close together. Before using adhesive or fasteners, dry-lay several rows and check how the joints land at doorways.
Install the boards carefully
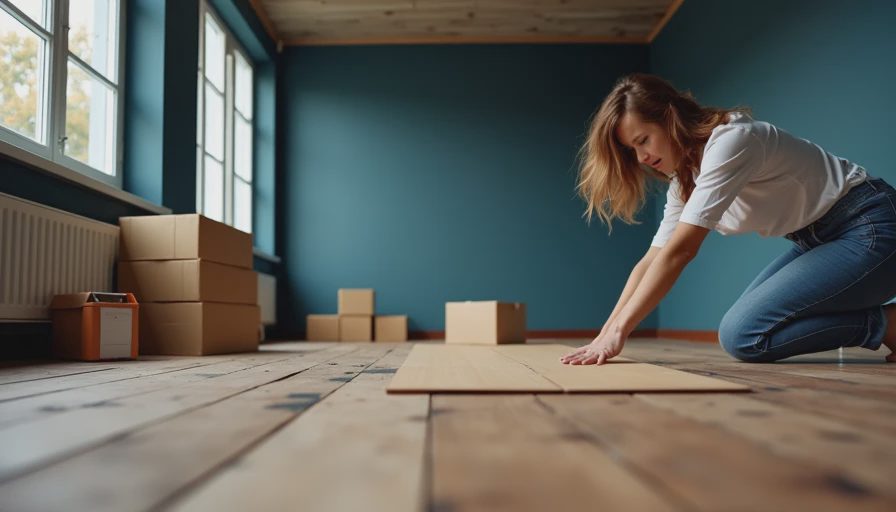
Cut the first row with the groove or tongue positioned as directed by the manufacturer. Use spacers to hold the expansion gap, then fasten the boards through the correct area with the flooring nailer. Practice on scrap first. A nailer set too deep can damage the board; one set too shallow can prevent the next row from locking.
Work across the room, checking every few rows with a straightedge. Pull boards together with a flooring pull bar where the nailer cannot reach, especially near walls. Use a tapping block instead of hitting the tongue directly. Keep a pencil and scrap board nearby to test cuts around vents and door casings.
For the last rows, there may not be room for the nailer. Face-nail where the trim will hide the holes, or follow the glue and fastening instructions for the specific floor. Never force a bowed board so hard that it pushes the entire installation out of line. Set it aside and use it for a shorter cut if necessary.
Finish the room without hiding mistakes
Remove spacers after the floor is secure and install baseboard or shoe molding without attaching it to the flooring. The trim should cover the expansion gap while allowing the floor to move underneath. Reinstall doors only after checking clearance; new flooring can make a door scrape by an eighth of an inch.
Use matching transitions where hardwood meets tile, carpet, or a lower floor. Do not fill an expansion gap with rigid caulk. Vacuum thoroughly, then follow the manufacturer's cleaning instructions. Pre-finished hardwood usually needs no sanding or coating, while unfinished flooring requires a completely different finishing schedule and more dust control.
My most expensive mistake was rushing the trim. I had left one transition short, then discovered it after the furniture came back into the room. The replacement was only $35, but moving a bookcase, sofa, and dining table again took three hours.
When DIY makes sense and when it does not
Hardwood is a reasonable DIY project if the room is rectangular, the subfloor is sound, the product is pre-finished, and you can leave the space unused while you work. It becomes a poor first project when there are stairs, multiple adjoining rooms, extensive leveling, radiant heat, or moisture concerns. A professional installer can also be worthwhile for unfinished hardwood because sanding and finishing expose every mistake.
Before starting, confirm the product, calculate waste, rent the nailer, test moisture, inspect the subfloor, plan the first and last rows, and reserve extra material for future repairs. Photograph the product label and write down the flooring lot number. If a board fails years later, that note can save a frustrating search.
So, how do i lay hardwood flooring? I prepare more than I install, spend money on a straightedge and moisture meter, and slow down at the first row. The floor will only be as straight as the line underneath it. Measure twice, cut once, write it down.
Comments
No comments yet — be the first to share a thought.