
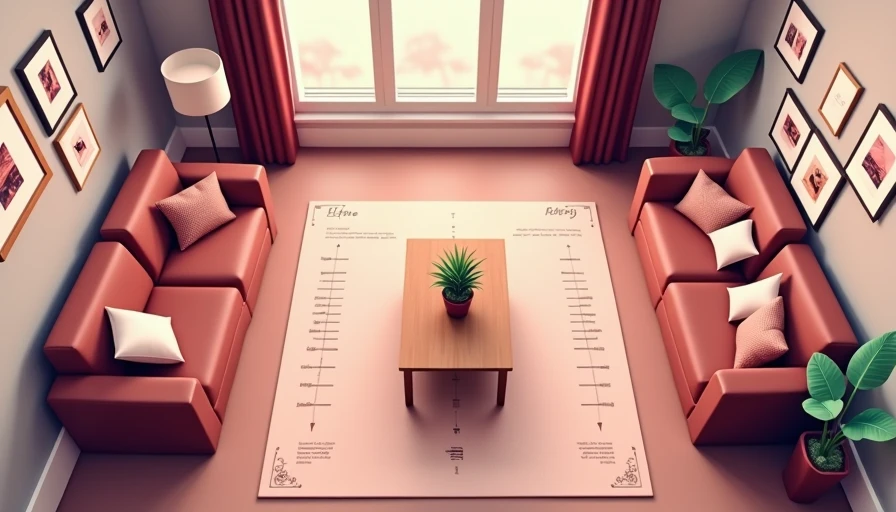
Living Room Renovation Before and After: What Changed, What It Cost, and What I’d Do Again
living room renovation before and after: see the Greenville costs, the mistakes, and the changes that actually made the room feel finished and valuable.
The first thing I learned from a living room renovation before and after is that the room usually looks worse on paper than it does in your head. My Greenville living room was one of those spaces: tired carpet, yellowed trim, a ceiling fan that belonged in a motel, and walls that had been repainted so many times the corners felt soft. Nothing was structurally wrong, which is why it sat on my list for longer than it should have. I kept thinking I could live with it one more year. Then I added up how much money I was losing every time I walked past it and decided to fix the room instead of apologizing for it.
What my starting point actually was
The room measured just under 220 square feet, which is big enough to feel expensive and small enough to punish bad decisions. The carpet had traffic patterns near the sofa, the baseboards were scuffed, and the old paint color made winter afternoons feel dim even with the blinds open. In a lot of Upstate houses, that is the real problem: not a dramatic failure, just a stack of small tired details. Those details matter because they tell your brain the house has been deferred everywhere else too. I did not need to move walls or chase a magazine look. I needed the room to feel clean, brighter, and more finished the second somebody walked in.
The plan was simple on purpose. Paint the walls and trim, replace the floor, update the light, and clean up the fireplace surround so the room had one clear focal point. That is the kind of work that changes how a house shows without turning into a money pit. I also knew from years of appraising that buyers notice flow, light, and condition before they notice style. A room can be plain and still sell well. It cannot be dingy and overpriced.
The living room renovation before and after: the changes that mattered
I started with the biggest visual win: color. I used a warm neutral on the walls and a cleaner white on the trim so the room would reflect more light from the front windows. Paint is cheap compared with everything else, but it has an outsized effect. If you hire it out, a room this size might land in the $1,200 to $2,500 range depending on prep and ceiling height. Doing it myself cut that in half, though it cost me two evenings of sanding, caulking, and muttering at old nail holes.
Next came flooring. The old carpet went out, and I replaced it with a midrange LVP that could handle kids, dogs, and the occasional dropped tool. In Greenville, installed LVP often runs somewhere around $4 to $7 per square foot depending on the product and subfloor prep. That put my room in the low four figures for materials and labor. I also swapped the old fan for a simpler flush-mount light, then added a Lutron dimmer so the room could go from bright and practical to softer in the evening. That little switch probably changed the room more than the fixture did.
Where the money went and what I skipped
The whole room landed around $6,500 all in, not counting furniture. About $900 went to paint materials and sundries because I do not cheap out on primer, caulk, or decent rollers. Flooring and install were the largest line item. Lighting and electrical came in under $600 because I kept the layout the same. The fireplace refresh was another modest expense: fresh paint on the surround, new trim pieces, and a better mantle shelf. I skipped built-ins, which is where a lot of homeowners burn cash for very little value. Built-ins look nice in photos, but they can eat up $3,000 to $10,000 fast and lock you into a layout that may not help resale.
I also passed on fancy wall paneling. In a room like this, texture can help, but too much of it makes the space feel smaller and more dated when the trend moves on. I wanted choices that would still look normal in five years. That is the ex-appraiser part of my brain talking. A clean room with a decent floor and good light always appraises better than a trendy room with expensive clutter.
The before and after difference was not subtle. The room went from dark and tired to bright and usable. More important, it stopped feeling like a project. That matters when you are trying to live in the house while you renovate it.
Mistakes that cost me time and a little pride
I made three mistakes, and none of them were dramatic enough to ruin the job, which is usually how real renovations go. First, I assumed the subfloor was flat enough for the new flooring. It was close, but not close enough, so I spent half a day leveling a couple of low spots after the underlayment was already staged. Second, I bought a rug before the sofa placement was final, and the rug ended up too small. That one was pure impatience. Third, I underplanned the trim color transition around the fireplace, which meant an extra trip for touch-up paint and another hour of cleanup.
If your own living room renovation before and after starts with the same tired beige, focus on paint, light, and flooring before you think about built-ins or decorative extras. Those three items usually deliver the biggest improvement per dollar. They also give you cleaner photos if you ever decide to list the house.
What actually helps resale in a room like this
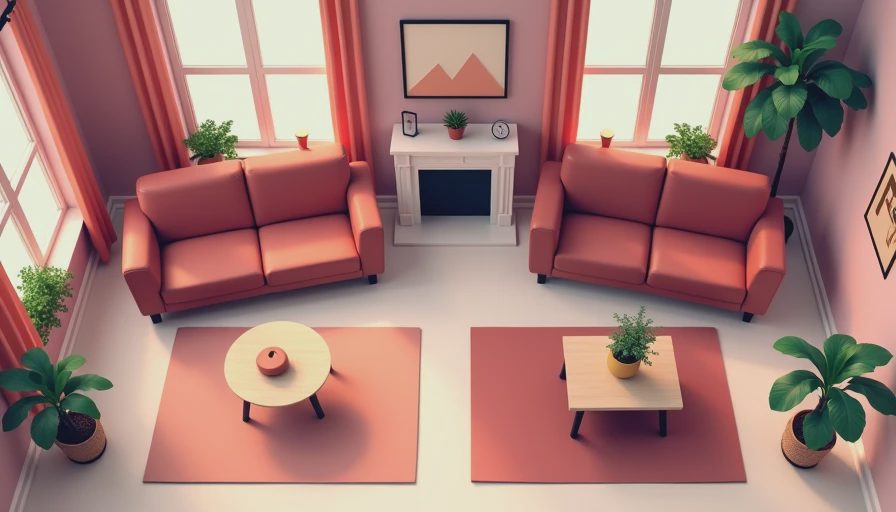
From an appraisal standpoint, the living room is not the star of the show, but it sets the tone. If the front door opens into a space that feels dated, every buyer starts mentally discounting the house. If the room feels fresh, they stop looking for excuses. In a Greenville market where many homes were built in the 1980s through early 2000s, that first impression carries real weight.
The changes that tend to help most are the boring ones: consistent flooring, neutral paint, better light, repaired trim, and a room that feels clean from corner to corner. The changes that help least are the ones a seller loves but a buyer has to maintain. Fancy AV built-ins, complicated accent walls, and oversized fireplaces can all look impressive while doing very little for value. I have seen plenty of houses where a $1,500 paint-and-light refresh did more for perceived condition than a $7,000 decorative upgrade.
A simple way to plan your own room
I keep my planning process plain: measure the room, write down every finish, and price the work before I buy anything. If you are hiring part of it out, get at least two bids for flooring or electrical so you know whether the first number is normal or inflated. Add a 10 to 15 percent cushion for surprises because older houses always have a surprise waiting behind one wall or under one strip of trim. And do not buy furniture before the room is finished unless you enjoy returning oversized items twice.
A good living room should not call attention to itself. It should make the rest of the house look cared for. That is the whole point of this kind of project. You are not chasing a designer reveal. You are making the room brighter, sturdier, and easier to live in. Measure twice, cut once, write it down.
Comments
No comments yet — be the first to share a thought.