
Living Room: Trim, Paint, and the Final Reveal (Budget vs. Actuals)
The living room is finished—trim on, paint dry, flooring down. Full budget vs. actuals, the last surprises, and the honest reveal of what three weeks of work actually produced.
The Room That Finally Looks Like a Room
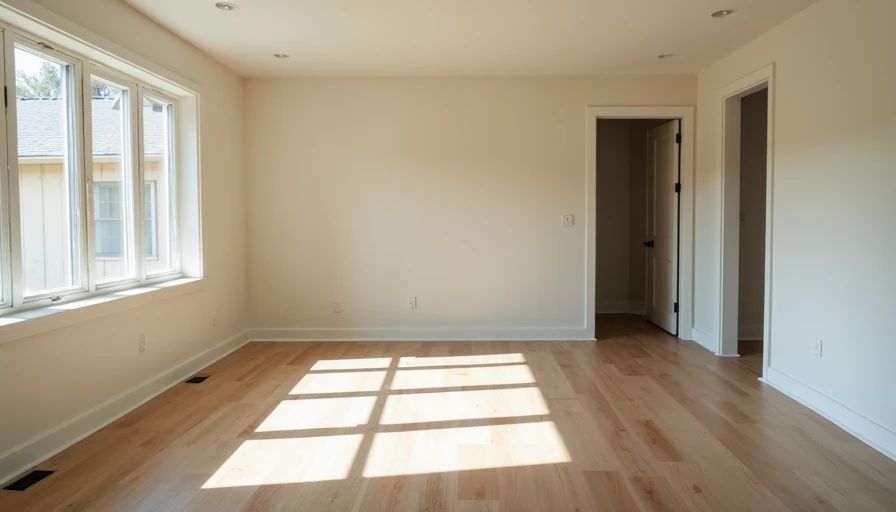
Three weeks ago this space was popcorn, paneling, soft subfloor, and a cloud of demolition dust. Today the walls are smooth, the trim is tight, the paint is the exact shade Jenna picked after four sample boards, and the new flooring runs clean to the edges. The living room is done.
This is the final reveal post for the first room of the forever house—photos will follow on the site, but the numbers and the lessons land here first.
Trim Day: Where Rhonda Earned Her Name
Once the primer dried and the first coat of paint was on the walls, trim became the priority. I cut everything on Rhonda in the garage, labeled each piece, and installed it with a finish nailer and a careful eye on the reveals. The sliding capacity paid off on the longer runs of baseboard. The joints closed. The caulk line is thin and even.
I still had to scribe one section against an out-of-plumb exterior wall. That is normal in a 1978 house. The fix took twenty minutes and a sharp block plane. No drama.
Paint: Two Coats and the Lighting Test
We chose a warm off-white that does not go blue in the evening or yellow at noon. Two finish coats over primer. I cut in by hand and rolled the fields. The raking light that had shown every drywall flaw three weeks ago now shows a smooth surface. That alone felt like a small victory.
Ceiling got the same treatment. No more popcorn texture collecting dust. It reflects light instead of absorbing it. The room feels larger without a single wall being moved.
Flooring: The Moment It Became Real
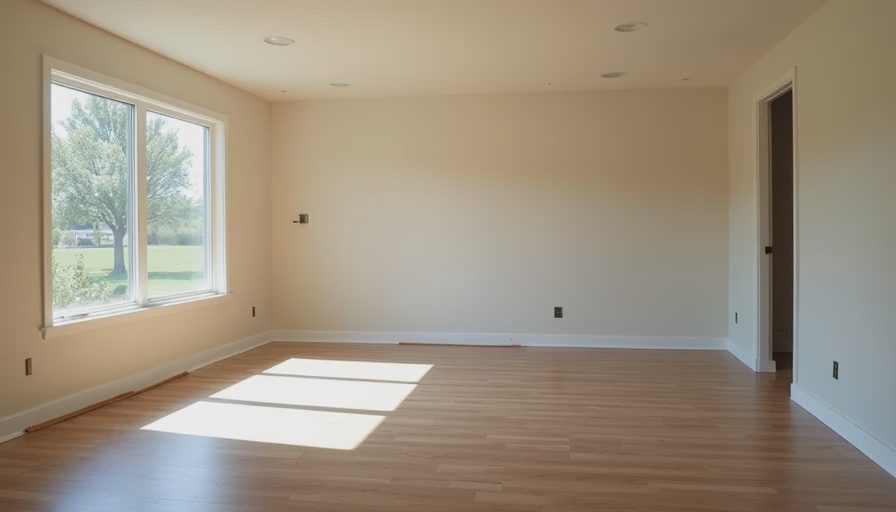
New LVP went down over the repaired and leveled subfloor. Click-lock, mid-grade, chosen to match the direction the rest of the first floor will eventually take. Underlayment already attached. I started in the longest straight run and worked outward, tapping seams tight and leaving the proper expansion gap at the walls.
The soft spots we sistered in week two never telegraphed through. That was the quiet win of the whole room.
Budget vs. Actuals – The Full Ledger
Original living-room estimate (including 20% buffer): $4,200
Final actuals:
Demo, dumpster share, plastic, respirator supplies: $412
Subfloor repair (plywood, lumber, screws, leveler): $215
Insulation: $89
Drywall, compound, tape, sandpaper: $170
Primer and paint (walls + ceiling): $148
Trim material and fasteners: $186
LVP flooring + underlayment: $1,140
Misc (caulk, touch-up, blades, etc.): $97
Total actual: $2,457
Buffer remaining: roughly $1,700 that now rolls into the kitchen contingency.
No change orders. No hidden financing. Just the numbers as they landed.
What Went Better Than Expected
The subfloor repairs held. The drywall patches disappeared under paint. Rhonda made the trim work faster and cleaner than any previous house. And the final room does not look like a DIY project that tried hard—it looks like a finished living room.
What Still Taught Me Lessons
Drywall finishing still takes longer than the optimistic side of my brain believes. Dust control is a full-time side job during the messy phases. And even a “simple” room in a 1978 house will find a way to surprise you once the finishes start coming off.
The Honest Reveal
The living room is brighter, quieter, and solid underfoot. The old paneling and popcorn are gone. The floor no longer complains when you walk across it. We can put furniture back without pretending the walls are “good enough for now.”
It is not a magazine feature. It is a real room in a real house, finished on purpose, with every dollar written down.
Measure twice. Cut once. Write it down.
One room down. The kitchen is next. The ledger stays open, and the buffer from this room just made the next phase a little less stressful. See you when the cabinets start arriving.
Comments
No comments yet — be the first to share a thought.