
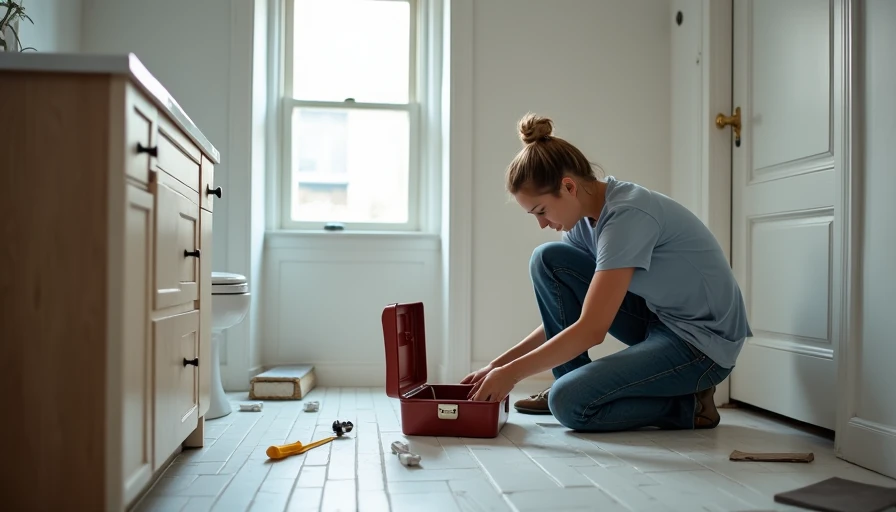
diy bathroom renovation on a budget: my $4,860 plan
diy bathroom renovation on a budget starts with a real ledger. Learn where to save, what to DIY, what to buy used, and when a plumber earns every dollar today.
A diy bathroom renovation on a budget is less about finding a magical $20 vanity and more about controlling the expensive parts: plumbing, waterproofing, tile, and the surprises behind the wall. I tracked every receipt during our hall-bath update in Greenville, South Carolina. The original target was $4,200. The final total was $4,860, including a $380 plumber visit after I discovered a corroded shutoff valve.
That overage did not ruin the project, but it did confirm my main renovation rule: measure twice, cut once, write it down. A bathroom can look completely different without moving the toilet or changing the footprint. Paint, lighting, a mirror, a better fan, new hardware, and careful tile work create most of the visual improvement for far less than a full gut renovation.
Start with a budget that separates wants from risks
For a typical 5-by-8-foot bathroom, I would divide a diy bathroom renovation on a budget into four categories. Materials for the visible work might run $2,000 to $3,500. Tools and rentals can add $150 to $500. Licensed trade work, if needed, deserves its own line at $300 to $1,500. Finally, keep 15 percent for damage, missing parts, and the inevitable extra trip to the hardware store.
My spreadsheet had columns for item, estimated cost, actual cost, store, and return deadline. That last column saved me. I bought two boxes of backsplash tile from a clearance rack, then learned the store would not accept returns after 30 days. I used one box and still had nearly a full box sitting in the garage. Clearance is only a bargain when the quantity and return policy work for your room.
Set aside the money before demolition. If your total limit is $5,000, do not spend $4,900 on fixtures before opening the wall. A $700 emergency fund is more useful than a designer faucet.
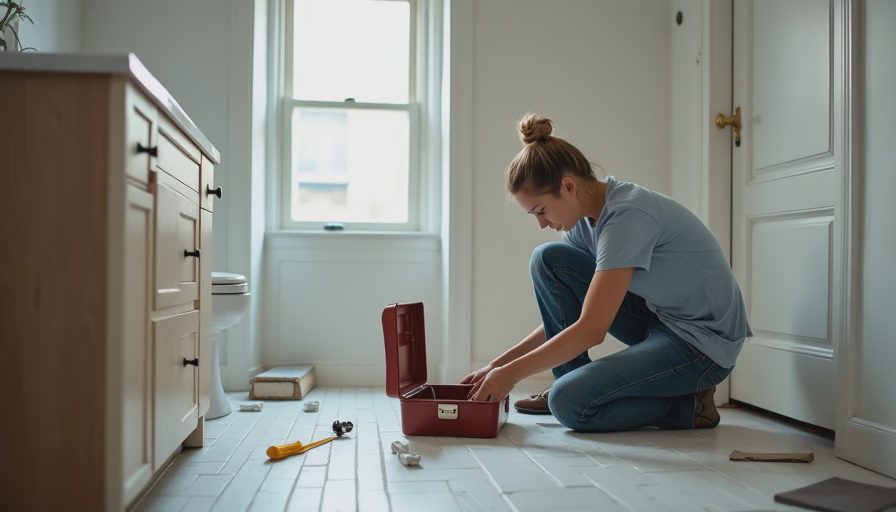
Choose the work that actually pays off
The highest-value changes in my bathroom were not the glamorous ones. We kept the existing toilet location, shower drain, and vanity plumbing. That decision avoided several thousand dollars in relocation costs and kept the project within the scope of a diy bathroom renovation on a budget.
I handled demolition, drywall patching, painting, trim, mirror installation, cabinet assembly, and the floor tile. I hired an electrician to correct a poorly placed vanity box and a plumber to replace the old shutoff valve. I also paid for a second set of eyes on the shower waterproofing before tile went up. That inspection cost $125 and was cheap insurance against destroying a finished wall later.
Do not treat electrical, gas, or concealed plumbing work as a toughness contest. Local permitting and licensing rules differ, and a small mistake can cause leaks, fire risk, or problems when you sell. Save your DIY energy for tasks where errors are visible and reversible.
Save money on fixtures without buying junk
The vanity was the most noticeable purchase, so I spent $620 on a 36-inch cabinet with a quartz top. A $250 cabinet was available, but its particleboard sides were already swelling in the store display. For a diy bathroom renovation on a budget, I would rather buy one solid midrange piece than replace a cheap one in three years.
I saved on the mirror, towel bars, and light fixture. A plain framed mirror cost $88, compared with more than $300 for a similar-looking showroom model. The matte black light was $115, and the matching hardware package was $74. I chose a standard-size toilet from American Standard rather than chasing a specialty shape. Replacement parts are easier to find, and the installation instructions were clear.
Spend more where water is involved: the shower valve, waterproofing system, supply lines, and toilet seal. Save on decorative knobs, shelves, and artwork. Those categories affect appearance, not whether water quietly reaches the subfloor.
Tile is where beginners lose both time and money
My first tile mistake was assuming the floor was flat because it looked flat. After removing the old vinyl, I found a low spot near the tub. Tile over that surface would have produced cracked grout and rocking tiles. I used patch compound and a long level to correct it before laying anything.
For a small bathroom, buy 10 percent extra tile for cuts and breakage. With a complicated pattern, 15 percent is safer. Record the lot number because colors can vary between production runs. I chose a simple 12-by-24-inch porcelain tile at $3.19 per square foot. Larger tile reduced grout lines, but it also required more careful leveling.
Renting a wet saw cost $68 for the weekend. That was cheaper than buying a bargain saw I would use once. I practiced cuts on two leftover tiles before touching the visible pieces. The finished floor was not perfect, but the grout lines were straight and the mistakes disappeared at the back wall behind the toilet.
The mistakes that changed my timeline
A realistic diy bathroom renovation on a budget needs a schedule with dead space. I planned ten working days and finished in sixteen. The vanity arrived with a cracked top. The paint took longer to cure in a humid room. Then the plumber found the shutoff problem I mentioned earlier.
The biggest mistake was starting demolition before ordering the replacement window trim. I assumed it would be a same-day purchase. It was not. The trim sat in a warehouse for a week while the bathroom remained partly open. Next time, I will purchase anything with a special order, delivery date, or unusual size before removing the old material.
Keep the household functional during the work. We used the primary bathroom while the hall bath was torn apart, but I still kept a portable toilet seat, cleaning supplies, and a first-aid kit nearby. Dust gets everywhere, including places you did not know existed.

A practical weekend-by-weekend plan
Weekend one is measurement, shopping, and protection. Photograph every connection before disconnecting anything. Shut off water, test the valves, and cover the hallway floor with ram board or thick cardboard. Confirm fixture dimensions, especially the toilet rough-in and vanity width.
Weekend two is demolition and inspection. Remove materials carefully instead of swinging a hammer at everything. Look for soft subfloor, mold-like staining, damaged framing, and loose wiring. Stop and get qualified help when the condition is beyond your tools or knowledge.
Weekend three is repairs, waterproofing, paint, and flooring. Let patching compounds and waterproofing products cure for the times stated on their labels. Weekend four is fixture installation, trim, caulk, and testing. Run the shower, fill the sink, flush the toilet repeatedly, and inspect the cabinet interior with a flashlight.
The best diy bathroom renovation on a budget is not the one with the cheapest receipt. It is the one that avoids redoing work. Buy reliable materials, keep the plumbing where it is, and document each decision. My final spreadsheet showed $1,290 for fixtures, $1,040 for tile and setting materials, $710 for paint, trim, and hardware, $380 for plumbing, $325 for tools and rentals, and $1,115 for miscellaneous materials and contingency.
That total is not a universal price tag. It is a useful starting framework. Before buying a single tile, measure the room, price the boring materials, and write down the work you will not handle yourself. Then compare a few local quotes for the risky parts. A calm plan beats an impressive mood board every time.
Comments
No comments yet — be the first to share a thought.