
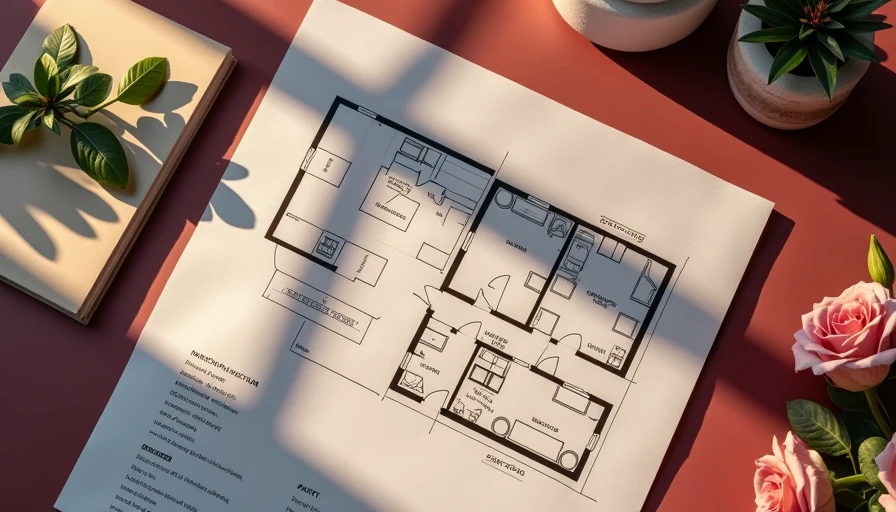
Steps to Home Renovation: A Room-by-Room Plan That Keeps Costs Under Control
Steps to home renovation, from budget and permits to bids and punch lists. Use my room-by-room process to control costs, avoid rework, and finish well.
The first of the steps to home renovation is not swinging a hammer. It is deciding what you are actually trying to fix, what you can spend, and what a finished room needs to do. I learned that after opening a wall in our Greenville, South Carolina, house and finding wiring that looked like it had been installed during the Carter administration. The project started as a $3,000 laundry-room refresh and ended at $7,400.
That kind of surprise does not mean renovation is a bad idea. It means the sequence matters. After renovating four houses, I use the same basic process every time: define the scope, price the work, investigate the house, line up approvals and trades, then build in an order that prevents expensive rework. Measure twice, cut once, write it down.
Start with the room, not the Pinterest board
The most useful steps to home renovation begin with a room diagnosis. Walk through the space with a tape measure, flashlight, and notebook. Record dimensions, ceiling height, window locations, outlets, plumbing fixtures, doors, trim condition, and anything that feels damp, loose, cracked, or unusually warm. Take photos before moving furniture or tearing out finishes. Those pictures become valuable when you cannot remember where a pipe or wire was located.
Next, write a one-sentence purpose for the project. Ours was, “Make the kitchen easier for two adults and two children to use without moving walls.” That sentence stopped me from spending $4,800 on a dramatic range hood that did not solve our storage problem. Separate needs from wants. A failing water heater, unsafe wiring, rotten subfloor, or leaking roof gets priority. New cabinet hardware and decorative lighting can wait.
Create a finish list before shopping. Include flooring, paint, cabinets, counters, appliances, plumbing fixtures, switches, trim, and disposal fees. If you cannot describe the finished room in writing, you are not ready for demolition.
Build a budget with actual line items
A renovation budget should look more like a small business spreadsheet than a single hopeful number. Create columns for item, quantity, estimated cost, actual cost, tax, delivery, and status. A modest 10-by-12-foot kitchen project might include $4,500 for stock cabinets, $2,000 for counters, $1,200 for flooring, $900 for electrical work, $700 for plumbing, $600 for paint and trim, and $1,000 for disposal and delivery. That is already $10,900 before appliances.
Add a contingency based on the age and uncertainty of the house. I use 10 percent for a straightforward cosmetic job and closer to 20 percent when opening walls, moving plumbing, or working on a house built before 1980. The contingency is not permission to buy nicer tile. It is protection against a bad subfloor, a damaged shutoff valve, or a product that arrives broken.
Get prices from local suppliers and at least two contractors for specialized work. A Greenville-area electrician may price a panel or kitchen circuit differently from a handyman who is only installing fixtures. Compare the scope, not just the total. A $1,600 bid that excludes patching drywall can be more expensive than a $2,000 bid that includes rough-in, inspection preparation, and cleanup.
Put the work in the right order
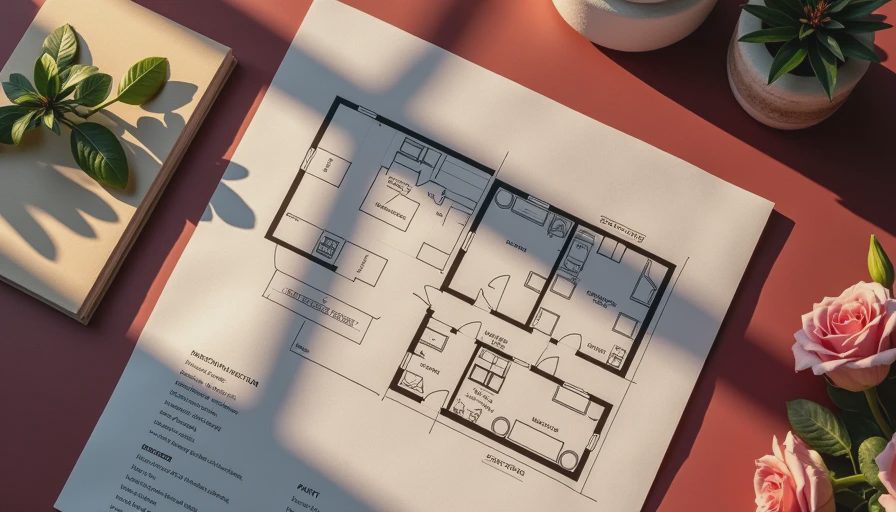
One of the most important steps to home renovation is sequencing. The general order is planning, approvals, demolition, structural and exterior repairs, rough plumbing and electrical, inspections, insulation, drywall, flooring, cabinets, counters, trim, paint, fixtures, and final cleanup. The exact order changes by room, but the principle stays the same: work that gets buried happens before work that gets finished.
Do not install new flooring before dusty wall work. Do not paint a ceiling before deciding whether an electrician needs to cut access holes. Do not order a countertop until cabinets are installed and measured. I once painted a hallway two days before a plumber replaced a nearby supply line. The repair took twenty minutes; the patching and repainting took half a Saturday.
Build a delivery calendar, too. Cabinets can take weeks, while a faucet may arrive in two days. Store materials somewhere dry, inspect boxes immediately, and keep receipts together. A missing cabinet door discovered on installation day can stop the entire room.
Decide what to DIY and what to hire out
The best steps to home renovation include an honest skill assessment. DIY work makes sense when the risk is low and mistakes are reversible. Painting, cabinet hardware, simple trim, demolition, and some floating-floor installations are reasonable projects for a careful homeowner. Budget $150 to $400 for basic tools, or rent specialized equipment for a weekend instead of buying it.
Hire licensed or properly qualified professionals for work involving gas, major electrical changes, structural walls, roofing, and complicated plumbing. In South Carolina, permit and licensing requirements can depend on the work and local jurisdiction, so I call the building department before demolition. A permit is not just paperwork; it can expose unsafe conditions before they are covered by drywall.
When collecting bids, ask who pulls permits, who supplies materials, how change orders are handled, and what cleanup includes. Put the answers in writing. A clear contract should identify payment stages rather than demanding the entire amount upfront. Never choose a contractor solely because the quote is hundreds cheaper; missing insurance, vague scope, and poor communication can erase that savings quickly.

Control the expensive middle of the project
The messy middle is where budgets usually break. Once walls are open, every discovery feels urgent, and the hardware-store cart fills up. Keep a running change-order log with the problem, options, price difference, and decision date. For example, a cracked drain line might cost $350 to repair while the wall is open, but several thousand dollars after cabinets and tile are installed. Spend on hidden infrastructure before cosmetic upgrades.
Take progress photographs before insulation and drywall. Photograph every wire, pipe, blocking location, and valve with a tape measure visible. Label the image folder by room and date. Years from now, those photos can keep you from drilling into a water line or guessing where a junction box is hidden.
Do not let a delayed item force a poor substitute. If the exact sink is unavailable, confirm that the replacement fits the cabinet, counter cutout, faucet holes, drain location, and disposal connection. A $250 substitute can create a $900 countertop problem if the dimensions are wrong.
Finish with a real punch list
The final steps to home renovation start before the contractor packs up. Walk through the room in daylight and write down every incomplete or damaged item: paint holidays, loose handles, doors that rub, uneven caulk, missing outlet covers, scratched flooring, and appliances that have not been tested. Use blue painter’s tape to mark issues directly on walls and trim.
Test outlets with a tester, run every faucet, check drains for leaks, operate windows and doors, and confirm that exhaust fans vent properly. Keep appliance manuals, paint colors, invoices, warranties, inspection records, and before-and-after photos in one digital folder. I also keep a paper folder because phones die at precisely the wrong moment.
A renovation is finished when the room works, not when the contractor says the tools are loaded. Review your actual spending against the original estimate and write down what caused each difference. Those notes make the next project faster and cheaper. For me, the clearest steps to home renovation are simple: inspect first, price everything, protect the contingency, sequence the work, and record what happened. The spreadsheet is not the renovation, but it keeps the renovation from running away with you.
Comments
No comments yet — be the first to share a thought.